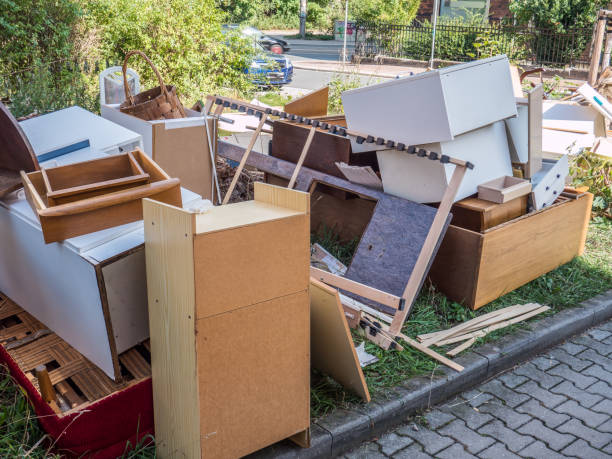
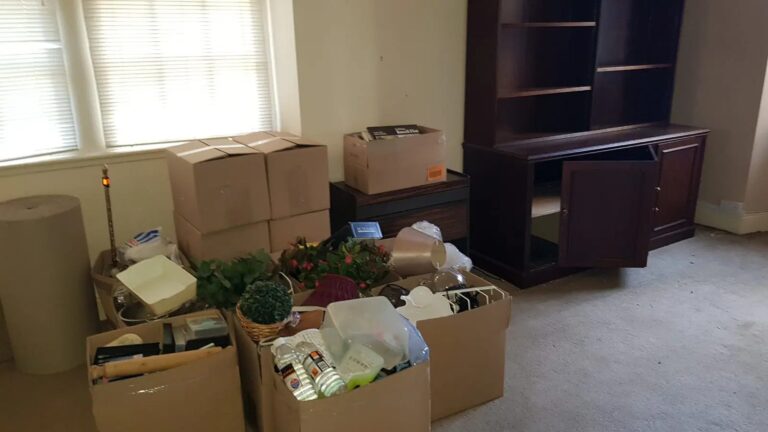
What happens during a house clearance
Clearing a house is a huge task. It brings physical and emotional challenges. All furniture and possessions must be taken out, and the house left clean for new occupants. Sorting through belongings, deciding what to keep and discard, organizing removal – all this is part of the process.
Someone must be hired to clear the house. They will look at the size of the job and tell you how much time and money it’ll take. It’s important to choose a trustworthy company with experience in house clearances.
Each room in the house will be emptied in turn. Large furniture items will be taken apart if needed. Clothes, books, mementos will be packed up for transportation or disposal. Valuable items and antiques may need to be appraised by specialists. Collectibles or sentimental objects may need special attention when sorting.
In history, clearances have been part of times of change or upheaval. Families had to sell possessions and move during war or economic hardship. These clearances often meant new beginnings.
Clearing a house is more than just taking out objects. It requires organization, emotional decisions, and respect for personal history. Whether due to downsizing, relocation, bereavement or other reasons, it can be challenging and cathartic.
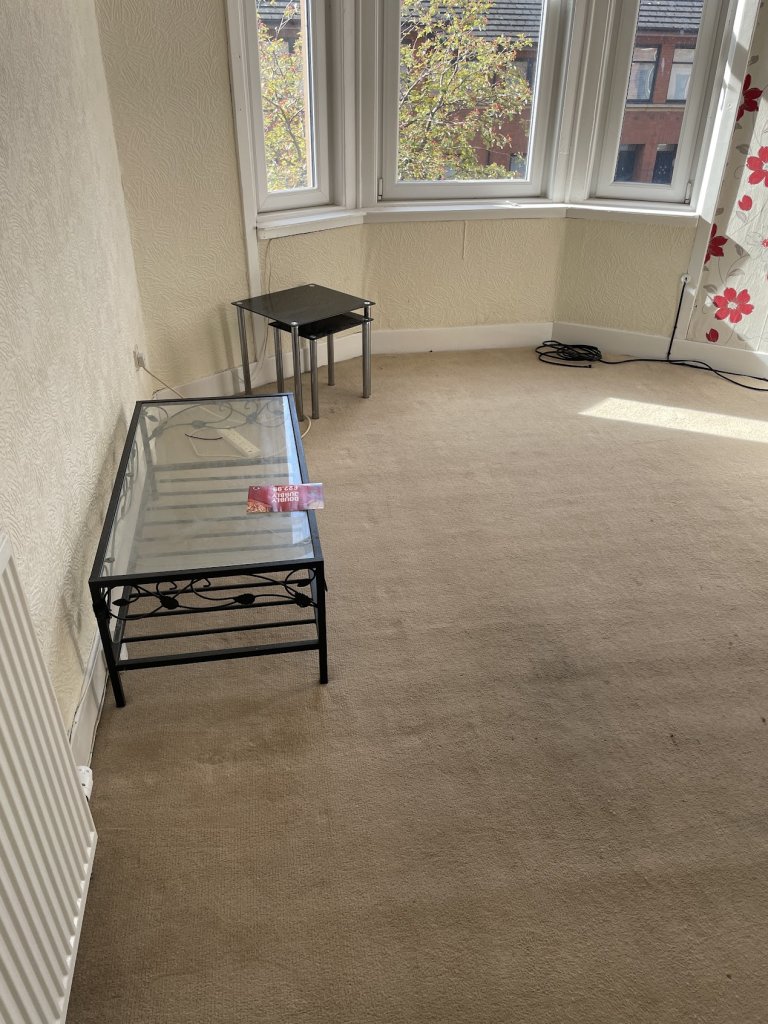
Understanding the concept of house clearance
House clearance is the act of getting rid of unnecessary items and clutter from a property. This includes furniture, appliances, and personal belongings. The goal is to make the property neat and ready for new occupants.
Professionals are brought in to decide which items should be kept, sold, donated, recycled, or disposed of. Valuable items like antiques or collectibles may be sold or given away. Equipment and resources are used to move large or hazardous items to recycling centres or waste management facilities.
It’s important to note that not all items can be cleared. There are restrictions when it comes to hazardous materials like asbestos or chemicals. Special teams may be needed in these cases.
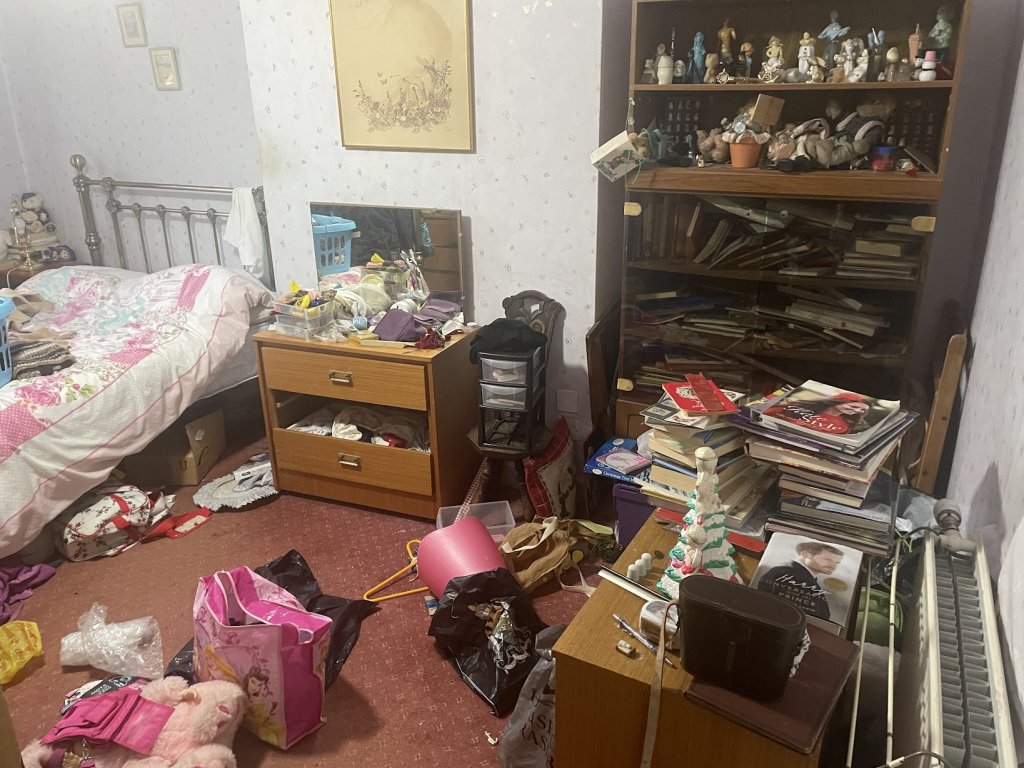
Preparing for a house clearance
Preparing for a house clearance can be a daunting task, but with proper planning and organization, the process can be made much easier. Here is a 5-step guide to help you navigate through the preparations:
- Assess the scope: Start by evaluating the size of the clearance project. Determine which areas of the house need to be cleared and whether any special considerations, such as fragile items or hazardous materials, need to be taken into account. This will help you prioritize and allocate time and resources accordingly.
- Sorting and categorizing: Create a systematic approach to sorting through your belongings. Begin by dividing them into categories such as keep, donate, sell, and discard. Separate items that hold sentimental value from those that are no longer needed. This process will help you declutter and make informed decisions about what to do with each item.
- Create a timeline: Set a timeline to keep yourself on track throughout the clearance. Break down the tasks into manageable chunks and assign deadlines for each. This will help you stay organized and avoid becoming overwhelmed by the enormity of the project.
- Arrange for disposal: Once you have identified the items to discard, make arrangements for their proper disposal. This may involve scheduling a rubbish collection service, renting a skip, or taking items to a recycling center. Ensuring responsible disposal will not only help you clear your house, but also contribute to environmental sustainability.
- Seek professional assistance: If the house clearance seems too overwhelming or if you are short on time, consider hiring a professional house clearance service. They have the expertise and resources to handle the entire process efficiently. They can assist with packing, removal, and disposal, saving you time and effort.
In addition to these steps, it is important to notify relevant parties such as estate agents or solicitors about the clearance. Keep in mind that sentimental items may require special care during the process. By following these suggestions, you can effectively prepare for a house clearance and ensure a smooth and successful transition to a clutter-free home.
This isn’t your average spring cleaning; we’re about to dive into the dark corners of your home and unleash the ghosts of forgotten trash.
Determining the scope of the clearance
Assessing how much needs to be cleared and the specific areas to focus on is key to determine the scope of a house clearance. By doing so, you can plan and organize the process better.
To get a clear picture, consider the property size, number of rooms/areas, and any special items that require special attention or disposal methods. This way, you can decide on the extent of the clearance and plan accordingly.
Property size is very important. Larger properties may need more planning and resources, while smaller ones may not. The number of rooms/areas will influence the time and effort for each space.
Special items such as hazardous materials or bulky furniture may have specific disposal requirements. Identifying these items early on will help ensure their proper removal or disposal without any issues.
A historical example can demonstrate the importance of determining the scope of a house clearance. In one instance, due to inadequate planning, a house clearance team underestimated the amount of clutter in an attic. This caused delays and they had to change their strategy during the process.
By effectively determining the scope of a house clearance, you can streamline it, allocate the right resources, and save time and effort. Taking into account factors like property size, rooms/areas, and special items will guarantee an efficient and successful clearance.
Planning the logistics and timeline
- Start by assessing the size of the task. Figure out how many rooms to clear and how many belongings to sort through. This will help you work out how much time and how many people you need.
- Create a plan of which rooms to clear first. Start with spare bedrooms and storage spaces. Then move on to more used rooms like the living room and kitchen. This way, you can avoid clutter and confusion.
- Set timelines for each stage of the clearance. This includes deadlines for sorting, packing, and arranging removal services. Sticking to these deadlines will help you stay on track and avoid delays.
- Make sure everyone involved knows the logistics and timeline. Talk to family or hired professionals. This will reduce misunderstandings and promote teamwork.
- Finally, take inventory of valuable items before you start clearing. This helps you prioritize their safety and avoid any losses.

Sorting and categorizing belongings
Sorting and categorizing belongings during a house clearance is a crucial step in the process. It involves carefully organizing and classifying items based on their value, condition, and purpose. This allows for efficient disposal, donation, or preservation of possessions.
- Firstly, items are sorted into categories such as furniture, electronics, clothing, and personal mementos. This helps in identifying valuable and sentimental belongings that should be handled with care.
- Next, belongings are categorized based on their condition. Items that are in good working order can be sold or donated, while those that are broken or damaged may need to be discarded.
- Furthermore, belongings can also be sorted based on their purpose or relevance. This helps in determining which items should be kept, given away to family and friends, or sold/given to charities.
Throughout this process, it is important to handle items with care and respect. Delicate or fragile possessions should be packed appropriately to minimize the risk of damage.
Additionally, unique details regarding this sorting and categorizing process can involve the use of professional appraisers or experts who can determine the value of certain items, especially when it comes to antiques, artwork, or valuable collectibles. This ensures that the true worth of these possessions is recognized and considered during the clearance.
A fascinating history surrounding sorting and categorizing belongings during house clearances dates back to the Victorian era. During this time, households were often filled with extravagant items and furniture. House clearances were carried out by individuals known as “clearers”, who meticulously sorted through the belongings to determine their worth and decide on the best course of action. This process could take weeks or even months, as every item had to be carefully evaluated and organized. The clearers played a vital role in managing and disposing of possessions to make way for new occupants. Their attention to detail and expertise were highly valued in ensuring a smooth transition for the household.
Organizing items into keep, donate, sell, and discard categories – a perfect opportunity to find out who among your friends and family is truly deserving of your questionable taste in home decor.
Organizing items into keep, donate, sell, and discard categories
Organizing our stuff? Let’s get started! We need a system to determine what to keep, donate, sell, or discard.
- Firstly, items that have sentimental value or are necessary for us are keepers.
- Donate those items that can help others, like old clothes or household items.
- Sell those things that still hold value, like electronics or collectibles, for extra income.
- Discard broken, worn-out stuff that no longer serves a purpose – responsibly!
Label designated areas and begin organizing. It’ll leave you feeling lighter and more organized! Take action now and enjoy a clutter-free life.
Dealing with sentimental items
Preserve sentimental items with proper containers and display cases, to protect them from dust and moisture. Categorize them based on their significance or theme. Create a digital or physical scrapbook to record memories associated with each item. Share stories with loved ones. Repurpose old items into something new. Evaluate which items bring joy. Let go of those that no longer hold significance or bring negative emotions. Following these suggestions will help you effectively deal with sentimental items, preserving their emotional value for years to come. Sentimentality lies in memories, not just physical objects.

Hiring professional help or conducting DIY clearance
Hiring professional help or conducting a DIY house clearance is a decision that depends on various factors. Here are some important points to consider:
- Quality of work: Professional help ensures a thorough and efficient clearance, as they have the expertise and experience to handle all types of items. DIY clearance may save money, but it may lack the finesse and attention to detail.
- Time and effort: Hiring professionals can save you a significant amount of time and effort. They will take care of everything, from sorting and packing to transportation and disposal. On the other hand, conducting a DIY clearance requires you to invest your time and physical energy.
- Safety and risk: Professionals are trained to handle potentially hazardous items, such as chemicals or heavy furniture, reducing the risk of accidents or injuries. If you’re not familiar with proper handling techniques, a DIY clearance may pose safety risks.
- Legal considerations: Certain items or materials require special permits or licenses for disposal. Professionals are aware of these legal requirements and can ensure that everything is done in compliance with the law. DIY clearances may result in unknowingly breaking regulations.
- Emotional attachment: If the house clearance involves sentimental belongings or deceased loved ones’ possessions, it can be emotionally challenging. Hiring professionals can provide support and sensitivity during the process, making it easier to cope with the emotional aspects.
In addition, it is worth mentioning that some professional clearance services offer additional benefits such as recycling or donation of unwanted items. These options not only contribute to environmental sustainability but also help those in need.
Considering these factors, it becomes evident that hiring professional help for a house clearance can provide convenience, efficiency, and peace of mind.
When making a decision, it is advisable to assess your specific circumstances and priorities. If time, physical effort, and emotional support are important to you, professional help may be the best choice. However, if you are comfortable handling the clearance yourself and have the necessary resources and knowledge, a DIY clearance can be a cost-effective option. Ultimately, the choice between hiring professionals or conducting a DIY clearance should align with your individual needs and preferences.
Choosing between a house clearance and dealing with a haunted mansion? Well, with a house clearance at least you won’t have to worry about furniture moving on its own.
Pros and cons of each option
Weighing the pros and cons of hiring professional help or doing a DIY clearance is important. Professional services offer expertise and efficiency, whilst a DIY approach saves money and gives more control. Here are the details:
| Option | Pros | Cons |
|---|---|---|
| Hiring Professional Help |
|
|
| DIY Clearance |
|
|
One should also consider potential risks for complex clearances that require professional help, such as hazardous material removal or legal requirements. HomeAdvisor found that hiring professionals can boost property value by 10%.
Factors to consider when choosing a clearance company
Choose wisely when selecting a clearance company! Assess their reputation and experience in the industry. Read customer reviews to determine their reliability and expertise. Evaluate their services. Ensure they specialize in the type of clearance you need – residential, commercial, or industrial.
Consider cost and affordability. Request quotes from different companies for the best value. Verify if the clearance company is properly licensed and insured. Check if they have a sustainable approach to waste disposal. Choose an environmentally-friendly company to show commitment to reducing your carbon footprint.
Inquire about their availability and flexibility when scheduling appointments. See if they provide extra services like packing and organizing items during the clearance process. Get the perfect clearance company for your needs by considering all these factors! Act now for a smooth and stress-free experience. Enjoy peace of mind knowing you made the right choice!
The clearance process step-by-step
The clearance process involves several steps that ensure a smooth and efficient house clearance. Here is a step-by-step guide to help you understand the process:
- Assessment: The first step in a house clearance is to assess the property and determine the scope of work. A professional team will evaluate the size and contents of the property to create a plan.
- Sorting and Organizing: Once the assessment is complete, the team will begin sorting and organizing the items in the house. They will separate items into different categories such as furniture, electronics, clothing, and personal items.
- Removal and Disposal: After sorting, the next step is the removal and disposal of unwanted items. The clearance team will carefully remove and transport the items to appropriate disposal locations such as recycling centers or donation centers.
- Recycling and Donation: During a house clearance, efforts are made to recycle and donate items whenever possible. Furniture and appliances in good condition may be donated to charities, while recyclable materials are sent to recycling centers to reduce waste.
- Cleaning and Sanitizing: Once the removal and disposal process is complete, the team will thoroughly clean and sanitize the property. This ensures that the house is left in a clean and habitable condition.
- Final Inspection: The last step involves a final inspection of the property to ensure that everything has been cleared according to the client’s requirements. The team will address any last-minute concerns or requests before completing the house clearance.
It is worth noting that each house clearance is unique, and the process may vary depending on factors such as the size of the property and the amount of clutter present. However, following these steps generally ensures an efficient and well-organized clearance process.
In addition to the step-by-step guide, it’s important to mention that hiring a professional house clearance service can save you time and effort. They have the expertise and resources to handle the entire process efficiently, leaving you stress-free.
True Fact: According to The Guardian, house clearances have become increasingly popular in recent years due to the rising number of people downsizing or relocating.
Prepare yourself for a thrilling adventure as we navigate the treacherous terrain of cluttered rooms in our room-by-room clearance guidelines.
Room-by-room clearance guidelines
It’s essential to remember that each room may have diverse needs, such as an office requiring paperwork organization and desk decluttering. Make sure you take into consideration the individual needs of each room as you go through the clearance process.
Kitchen:
- Empty cupboards and drawers, disposing of any out-of-date or unused food items.
- Clean surfaces and appliances thoroughly.
- Remove any personal items or decorations.
Living Room:
- Take out any furniture or objects that aren’t necessary or used.
- Dust and vacuum all surfaces, including upholstery and carpets.
- Neatly organize shelves and cabinets.
Bedroom:
- Sort clothing, removing any pieces that are no longer worn or needed.
- Make the bed neat and tidy up any personal items.
- Dust and vacuum the room completely.
Bathroom:
- Discard any expired medications or toiletries.
- Scrub all surfaces, including the toilet, sink, and bathtub/shower.
- Put in fresh towels instead of the old ones.
Begin your clearance journey today to create a clean and orderly space for peace of mind and a sense of accomplishment!
Disposing of unwanted items responsibly
Identify recyclable items – sort through your things and spot materials such as paper, plastic, glass, and metal that can be recycled. Separate them from non-recyclable items.
Research recycling options – find out what specific items local recycling facilities or collection points accept, and their drop-off locations or pick-up services. Plus, check if your community has curbside recycling days.
Dispose of hazardous waste safely – batteries, electronics, paint, and chemicals are hazardous to the environment if not disposed of correctly. Check with local authorities or waste management companies for guidelines.
Donate usable items – donate them to charities or second-hand stores instead of throwing them away. That way, you make a positive impact on the environment and show others how to do the same.
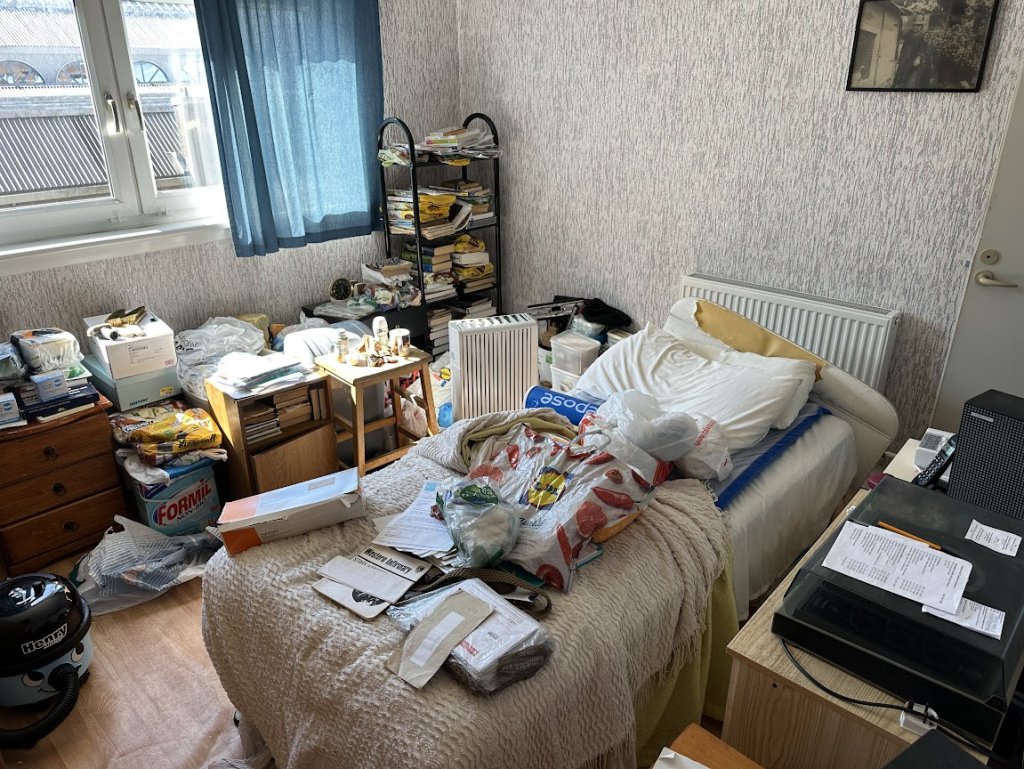
Dealing with challenges and obstacles during the clearance
During the house clearance process, dealing with challenges and obstacles is inevitable. It requires a professional approach to overcome these hurdles efficiently.
- Sorting through sentimental belongings can be emotionally challenging. It is crucial to handle the task with empathy and sensitivity.
- Dealing with bulky and heavy items can pose physical difficulties. Having proper lifting equipment and techniques in place is essential to ensure safety.
- Encountering unexpected clutter or hidden treasures can be time-consuming. Thoroughly examining each item and seeking expert advice can help avoid overlooking valuable items.
- Navigating narrow staircases or tight spaces can complicate the removal of large furniture. Employing skilled movers who are experienced in such situations is essential to prevent damage to the property or items.
- Dealing with hazardous waste, such as chemicals or outdated electronics, requires proper disposal procedures. Engaging with licensed professionals in waste management ensures compliance with regulations and promotes environmental sustainability.
- Coordinating with multiple parties, such as family members, estate agents, or solicitors, can lead to communication challenges. Maintaining open and clear lines of communication is crucial to ensure everyone’s expectations are met.
Additionally, it is vital to consider individual circumstances and take appropriate actions accordingly. For instance, if the clearance involves a deceased loved one’s belongings, being respectful of their memory and ensuring sensitive items are handled appropriately is paramount. By addressing these challenges effectively, the house clearance process can be completed smoothly and efficiently.
As you embark on your own house clearance journey, ensure that you have all the necessary resources and support to navigate through any obstacles that may arise. By doing so, you can have peace of mind and the assurance that nothing of importance will be overlooked or left behind. Don’t let the fear of missing out on sentimental items or valuable treasures prevent you from undertaking a thorough and efficient clearance. Take proactive steps to deal with any challenges and obstacles that come your way, and make the most out of this opportunity to declutter and create a fresh start for your living space.
Letting go of belongings is emotionally challenging, but hey, at least your ex’s love letters won’t be discovered during a house clearance!
Emotional aspects of letting go
Letting go can be hard. We must face our emotions. It’s a rollercoaster of feelings, from sadness to fear. We must accept and permit ourselves to feel them.
When we let go, it’s normal to feel a sense of loss. Mayhap we may grieve for the past. But with this, we open up to growth and new possibilities.
The emotions of letting go are usually linked to our attachment. We may cling tightly due to fear of what will occur if we release totally. The fear of missing out can be strong.
To overcome this, remind ourselves that letting go doesn’t mean forgetting or not valuing what was. It’s simply making space for fresh experiences and chances. By welcoming change and keeping an open mind, we can create new memories and form new connections.
Legal considerations and permits if required
Navigating the obstacles of clearance requires legal considerations and permits. Ensuring compliance with the regulations is key, to avoid repercussions.
Firstly, it’s important to understand what the legal requirements are for your clearance. This may include permits or licenses, depending on the clearance and location. Failing to follow the legalities can lead to delays.
Also, be aware of environmental and conservation laws. These laws are in place to protect habitats and endangered species. Ignoring them can result in fines or legal action.
Seeking guidance from local authorities can be helpful. They can offer insights into legal requirements and assist in obtaining permits.
A historical example of the importance of legal considerations is the construction of St. Paul’s Cathedral in London. Sir Christopher Wren tackled the challenges of building this iconic structure in the 17th century. Permission from King Charles II was essential for it to happen legally.
Completing the clearance and final touches
Completing the clearance and final touches is the crucial last step in a house clearance process. It involves attending to the remaining tasks and adding those finishing touches that bring the process to a satisfying conclusion.
- Step 1: Sorting and organizing – Begin by sorting the remaining items and organizing them into categories. Determine which items can be donated, recycled, or disposed of, ensuring all relevant regulations are followed.
- Step 2: Deep cleaning – Once the majority of the items have been removed, it’s time to give the house a thorough deep clean. This includes cleaning all surfaces, floors, windows, and any other areas that require attention.
- Step 3: Repairs and maintenance – Address any repairs or maintenance issues that may have arisen during the clearance process. Fixing minor damages or calling in professionals for more extensive repairs will help ensure the property is in good condition for future occupants.
- Step 4: Disposal of remaining items – Dispose of any remaining unwanted items properly and responsibly. This may involve arranging for a waste removal service, coordinating with local recycling centers, or making appointments for special items that require specific disposal methods.
- Step 5: Final checks – Before considering the clearance complete, take the time to do a final inspection of the property. Ensure all areas have been cleaned and any necessary repairs have been carried out. This thorough check will help guarantee that the property is truly ready for its next chapter.
As a unique detail, it’s worth mentioning that sentimental items discovered during the clearance process are often returned to the family or their owners if possible. This compassionate touch adds an extra layer of care to the process, acknowledging the emotional attachment people have to their belongings.
In a similar vein, I recall a heartwarming story where a house clearance team stumbled upon a box of old love letters hidden away in a dusty attic. Realizing their significance, the team made it their mission to track down the letters’ owner, eventually reuniting them with a widowed lady who was beyond grateful. It’s moments like these that highlight the importance and impact of a thorough and thoughtful house clearance.
Completing the clearance and final touches is the ultimate goal of any house clearance undertaking. By following this 5-step guide, handling each task with care and attention, and adding those unique touches, you can ensure a successful and satisfying conclusion to the process.
The only time cleaning and tidying up a space is fun is when someone else is doing it for you during a house clearance, otherwise it’s just a cruel form of exercise.
Cleaning and tidying up the space
Once upon a time in a bustling city, there was a messy office. The desks were a jumble of documents and supplies, making it hard to find what the team needed.
The team got together and decided to tidy up their workspace. As they worked, they rediscovered forgotten items and rekindled their motivation.
The office maintained its cleanliness from that day on, leading to happier employees and better productivity. Cleaning and tidying up the space can have a huge effect, both on the physical environment and personal well-being.
To get started, here is a 5-Step Guide:
- Declutter: Start by removing any unnecessary items. Figure out what to keep, donate, or throw away. This will make room for the essentials.
- Dusting: Use a feather duster or microfiber cloth to clean furniture, shelves, and electronics. Don’t forget those hard-to-reach spots!
- Vacuuming or Sweeping: Vacuum carpets or sweep hard surfaces like wood or tile. Pay attention to corners and crevices.
- Wiping Surfaces: Use appropriate cleaning solutions and a soft cloth for countertops, tables, windowsills, and other surfaces. This removes smudges and stains.
- Organizing: Put items back in an orderly manner. Group similar objects together and allocate designated spaces. Consider using storage solutions like bins or organizers.
Moreover, don’t forget the little things – sanitize doorknobs, switches, and handles; refresh the air with natural scents; organize cables properly for safety; create visually pleasing arrangements with plants or artwork; and maintain proper lighting levels for ambiance.
Organizing the remaining belongings in a systematic manner
In the final stages of space-clearing, it’s essential to organize belongings in an orderly way. Here’s a 5-step guide for efficient completion of the task:
- Categorize: Sort belongings by function or purpose. This’ll help you get an overview of what needs organizing and make it easier to find items later.
- Declutter: Assess each item and decide if it can be disposed of. Removing clutter will free up space and make the organizing process easier.
- Allocate storage: Get shelves, drawers, boxes, or other storage containers that fit your needs. Label each container to make items easier to find.
- Arrange strategically: Place frequently used items within easy reach and prioritize access to essential items. Use dividers or separators to keep things neat.
- Maintain order: Regularly revisit and maintain your organization system. Return items to their designated places after use.
Personalization is key to successful organization. Understand your preferences and habits for arranging belongings effectively.
Fun fact: The Independent UK newspaper says organizing your surroundings reduces stress levels and promotes a sense of control in one’s environment.
Conclusion
In conclusion, a house clearance is a process in which a property is cleared of its contents. This could be for various reasons such as downsizing, decluttering, or because of the passing of a loved one.
Hiring professional clearance companies is often done to handle the task. They assess the property’s contents and decide what to sell, donate, recycle, or throw away. This involves sifting through belongings, packing them up, and sending them off to their proper destinations.
Sentimental items are treated with special care during a house clearance. These can be very emotionally valuable to those involved, so the professionals involved must handle them with respect. They work closely together with clients to make sure these items are handled accordingly.
There was a special case in 2019. A family was faced with the difficult job of clearing out their late grandparents’ home after they passed away. They wanted to make sure that every item was taken care of properly. Thanks to professional clearance services, they managed to get through this emotional process easily and effectively.
Frequently Asked Questions
Q: How long does a house clearance take?
A: The duration of a house clearance can vary depending on the size of the property and the amount of items that need to be cleared. On average, it can take anywhere from a few hours to a couple of days.
Q: What items can be cleared during a house clearance?
A: During a house clearance, almost all items can be cleared including furniture, appliances, clothes, personal belongings, and general household waste.
Q: What happens to the items cleared during a house clearance?
A: The items cleared during a house clearance can be disposed of in several ways. Some items may be donated or sold if they are in good condition. Others may be recycled, while any remaining waste is appropriately disposed of or taken to a landfill.
Q: Do I need to be present during a house clearance?
A: It is not necessary for you to be present during a house clearance. As long as you provide access to the property, the clearance team can handle the clearance process independently.
Q: Can hazardous materials be cleared during a house clearance?
A: Hazardous materials such as asbestos, chemicals, and certain types of electronic waste require specialized handling and disposal. It is important to inform the clearance company in advance if you have any hazardous materials that need to be cleared.
Q: How much does a house clearance cost?
A: The cost of a house clearance depends on factors such as the size of the property, the amount of items to be cleared, and any additional services required. It is recommended to obtain quotes from different clearance companies to compare prices.


